
Homebrewは、macOS(またはLinux)向けパッケージマネージャーです。
M1 Macを買ったら、Homebrewを必ずインストールするはずです。
この記事では
- Homebrewのインストール方法
brewコマンドの使い方- ついでにHomebrewのアンイストールも解説
さらに「M1 Macでエンジニアスキルを上達させるためのTips」も紹介しています。
Mac(M1・M2含む)を"買いたてホヤホヤの方"にはとても良い内容なので、ぜひ参考にしてみて下さい。
① Homebrew のインストール
/bin/bash -c "$(curl -fsSL https://raw.githubusercontent.com/Homebrew/install/HEAD/install.sh)"Homebrewのインストールは、macOSのターミナルで上記コマンドを打つだけです。
:
:
:
HEAD is now at 33de21ab57f vineyard: add 0.7.2 bottle.
Warning: /opt/homebrew/bin is not in your PATH.
Instructions on how to configure your shell for Homebrew
can be found in the 'Next steps' section below.
==> Installation successful!

==> Homebrew has enabled anonymous aggregate formulae and cask analytics.
Read the analytics documentation (and how to opt-out) here:
https://docs.brew.sh/Analytics
No analytics data has been sent yet (nor will any be during this install run).

==> Homebrew is run entirely by unpaid volunteers. Please consider donating:
https://github.com/Homebrew/brew#donations

==> Next steps:
- Run these two commands in your terminal to add Homebrew to your PATH:
    echo 'eval "$(/opt/homebrew/bin/brew shellenv)"' >> /Users/ユーザー名/.zprofile
    eval "$(/opt/homebrew/bin/brew shellenv)"
- Run brew help to get started
- Further documentation:
https://docs.brew.sh
Installation successful!が表示されたら、Homebrewのインストールは無事に完了です。
手前にあるWarning: /opt/homebrew/bin is not in your PATH.の表示は、まだbinのPATHが追加されていないという警告です。
なので、下記でbinを追加します。
② HomebrewのPATHを.zprofile に追加する
==> Next steps:
- Run these two commands in your terminal to add Homebrew to your PATH:
    echo 'eval "$(/opt/homebrew/bin/brew shellenv)"' >> /Users/ユーザー名/.zprofile
    eval "$(/opt/homebrew/bin/brew shellenv)"
- Run brew help to get started
- Further documentation:
https://docs.brew.shインストールコマンドを実行するとechoとevalのコマンドを実行して.zprofileにPATHを追加して下さい。と表示されます。
echoとevalのコマンドは下記箇所です。
echo 'eval "$(/opt/homebrew/bin/brew shellenv)"' >> /Users/ユーザー名/.zprofile
eval "$(/opt/homebrew/bin/brew shellenv)"ターミナルにそのままコピペしてEnterで.zprofileにPATHが追加されます。
ちなみに、パスの"ユーザー名"の箇所には、自分のマシン名の"ユーザー名"が表示されます。
③ Homebrewを確認するbrew -v
brew -v
Homebrew 3.4.11
Homebrew/homebrew-core (git revision c16f32d9702; last commit 2022-05-17)
Homebrewにパスが通ったかどうか念の為に確認しておきましょう。
コマンドは何でも構いませんbrew -vコマンドで確認してみます。
バージョンが出力されたら完了です。
④ Homebrew をbrew updateとbrew upgradeで更新する。
Homebrew を導入した後は、パッケージマネージャーを更新しましょう。
使用するコマンドはbrew updateとbrew upgradeです。
コマンドの違い
- brew update:Homebrewのアップデート
- brew upgrade:Homebrewのアップデートに加えて、Homebrewにインストールされているパッケージの更新も行います。
つまりbrew upgradeだけで良いということです。
念の為、混同しないようにbrew updateとbrew upgradeの両方を載せています。
実行例brew update
% brew update
==> Homebrew is run entirely by unpaid volunteers. Please consider donating:
    https://github.com/Homebrew/brew#donations
Updated 1 tap (homebrew/core).実行例brew upgrade
% brew upgrade
Running `brew update --preinstall`...
==> Auto-updated Homebrew!
Updated 2 taps (homebrew/core and homebrew/cask).

==> New Formulae
adamstark-audiofile                      mariadb@10.7
astro                                    markdown-toc
:
:
:
==> Upgrading git
  2.36.1 -> 2.37.2

:
:
:

You may also need to force rebuild `zcompdump`:

  rm -f ~/.zcompdump; compinit

Additionally, if you receive "zsh compinit: insecure directories" warnings when attempting
to load these completions, you may need to run this:

  chmod -R go-w '/opt/homebrew/share/zsh'
==> git

The Tcl/Tk GUIs (e.g. gitk, git-gui) are now in the `git-gui` formula.
Subversion interoperability (git-svn) is now in the `git-svn` formula.

zsh completions and functions have been installed to:
  /opt/homebrew/share/zsh/site-functions
brew upgradeを実行すると、一行目にRunning brew update --preinstall…が表示されてbrew updateされているのが分かります。
その後、==> New Formulaeが表示されてHomebrewにインストールされているパッケージの更新が始まります。
⑤ Homebrew をアンインストールする
M1・M2 Mac でITスキル向上「とりあえず、マイクラ鯖を立てよう」!
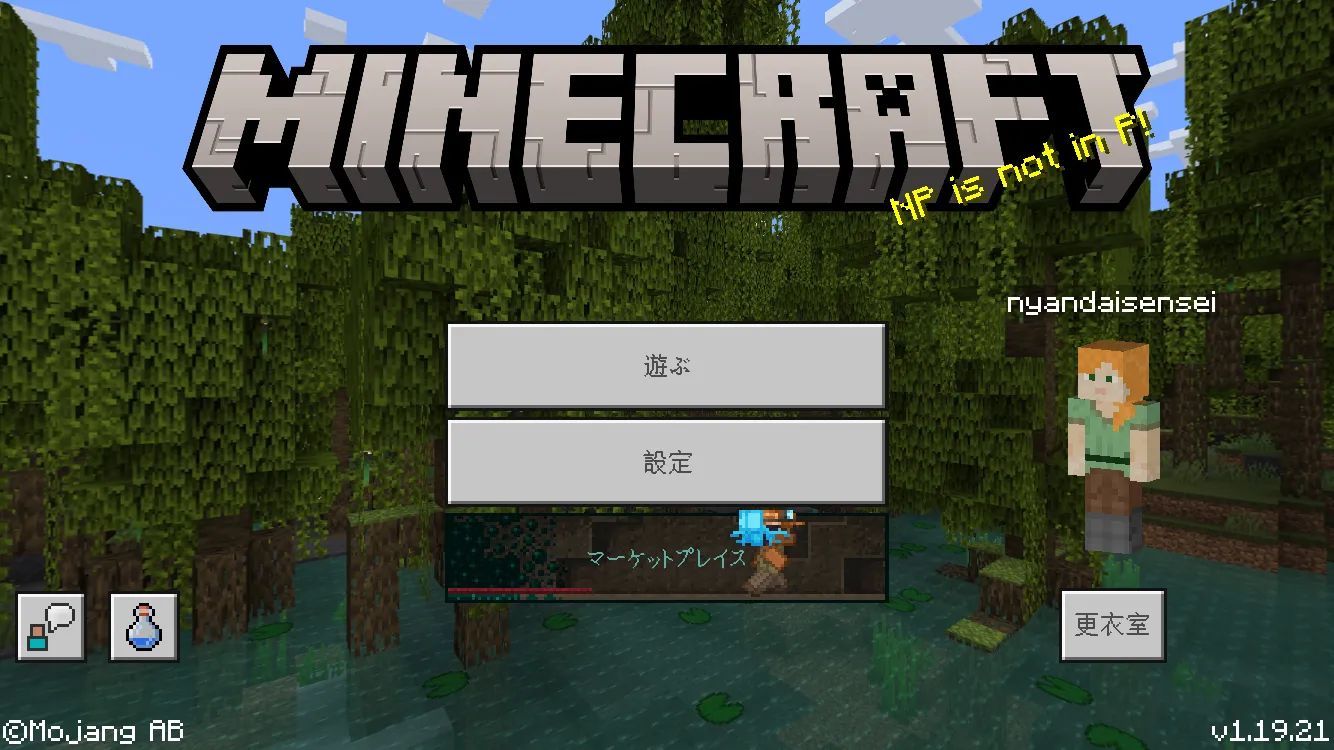
M1・M2 Mac でマイクラ鯖を構築すれば簡単にITスキルが向上します。マイクラ鯖を構築するだけでネットワークどころか会社で使える実用技術を芋づる式で獲得できます。
しかも、"Parallels"の仮想環境で作業するので"買いたてホヤホヤ"の新品Macの環境を一切汚しません。
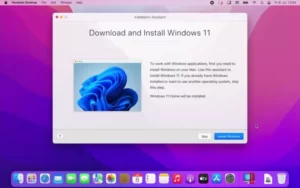
M1・M2 Macを使う人はWindows仮想環境を構築するはずなので、どちらにしろ"Parallels"を必ず使うと思います。
Parallelsでマイクラ鯖
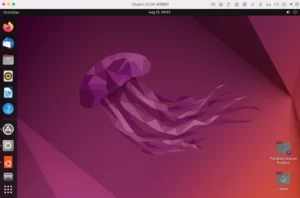
- Ubuntu 22.04 LTS ARM64のLinux仮想環境
- Linuxコマンド
- Git
- 仮想環境のネットワーク知識
- 仮想環境はDockerにも応用
仮想環境なので何度でもスクラップできるのがメリットです。
特に、エンジニアの方にオススメです。
M1・M2 Macでの開発はParallels仮想環境でやりましょう!メインPCで開発するのは環境汚染です!

M1・M2 Macでの開発は、Parallels仮想環境上で開発がオススメ!
メインPC上での開発はオススメできません。
M1・M2 Macを使ってるエンジニアの方は、Parallelsの仮想環境上で開発しましょう。
メインPCで開発はダメ
- PC環境が汚れる。
- 安易にスクラップ&ビルドできない。
- 開発しづらい。
Parallelsなら仮想環境を数分で構築できます。
開発はLinux(リナックス)環境が理想です。
開発はスクラップ&ビルドが基本だからです。
Linux(リナックス)と聞くと、、、OSメディアを自分で焼いて、、、とそんな作業をイメージします。
ラズパイなど基盤へのOSインストールが今だにそんな感じです。
時間・手間が掛かってやってられませんね。
時間・手間を掛けずLinux環境を構築できる「Parallels®︎ Desktop 18 for Mac」がオススメです。
数分でスクラップ&ビルドで開発環境をM1・M2 Mac上に一瞬で構築しましょう。



コメント